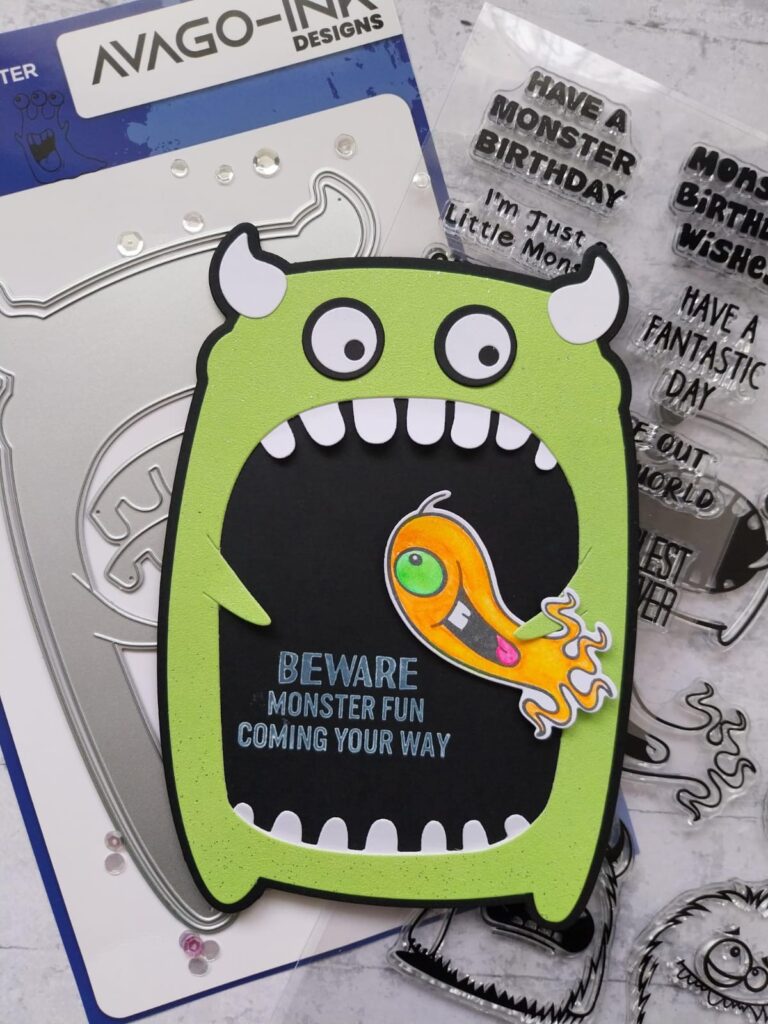
Draw a monster funny card for beginners guide in 8 steps.
Today, I made a monster funny card. you follow these steps and make a funny card. I will guide you step by step. First, outline every drawing then, add details at the end.
Materials Needed:
- Glitter cardstock or thick cardstock paper
- Pencil
- Scissors or craft knife
- Glue or adhesive
- Glitter glue or glitter pens
- Markers or colored pencils
Draw the basic shape of a monster funny card:
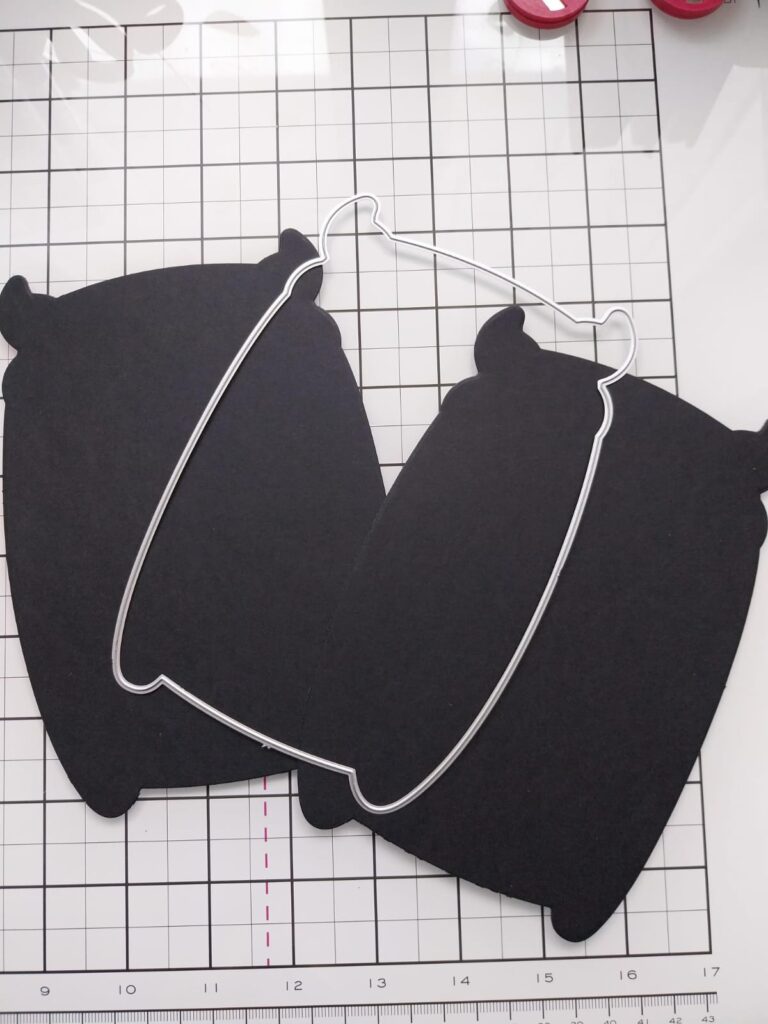
- Begin by sketching your monster on a piece of paper.
- Cut two monsters from the black card. Set the remaining black card to one side, as you will need later.
- Focus on the overall shape and details. it looks like a funny card.
- draw the expressions, and accessories to make your monster stand out.
- Then cut the drawing of the monster funny card. Cut the card carefully.
Apply tape on the monster funny card:
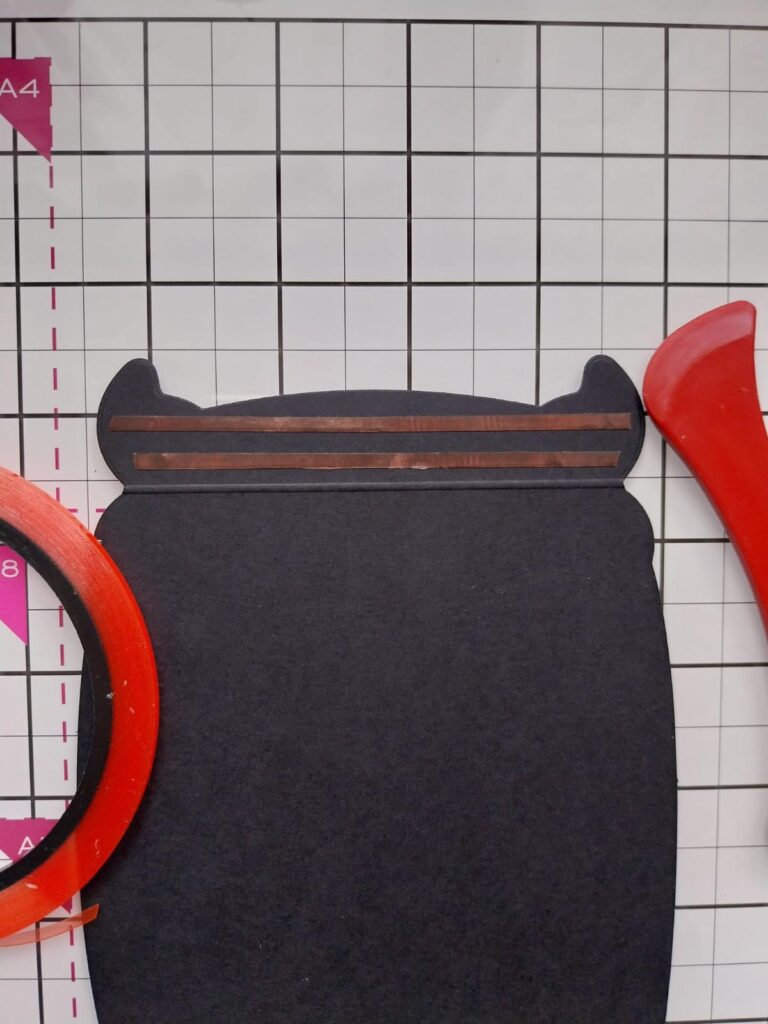
- Mark across one of the black monsters funny card, about 1cm down from the top, and apply red liner tape above the marked line.
- when you apply tape to the card check that the surface is dry and apply with carefully.
Monster funny card joint with each other:
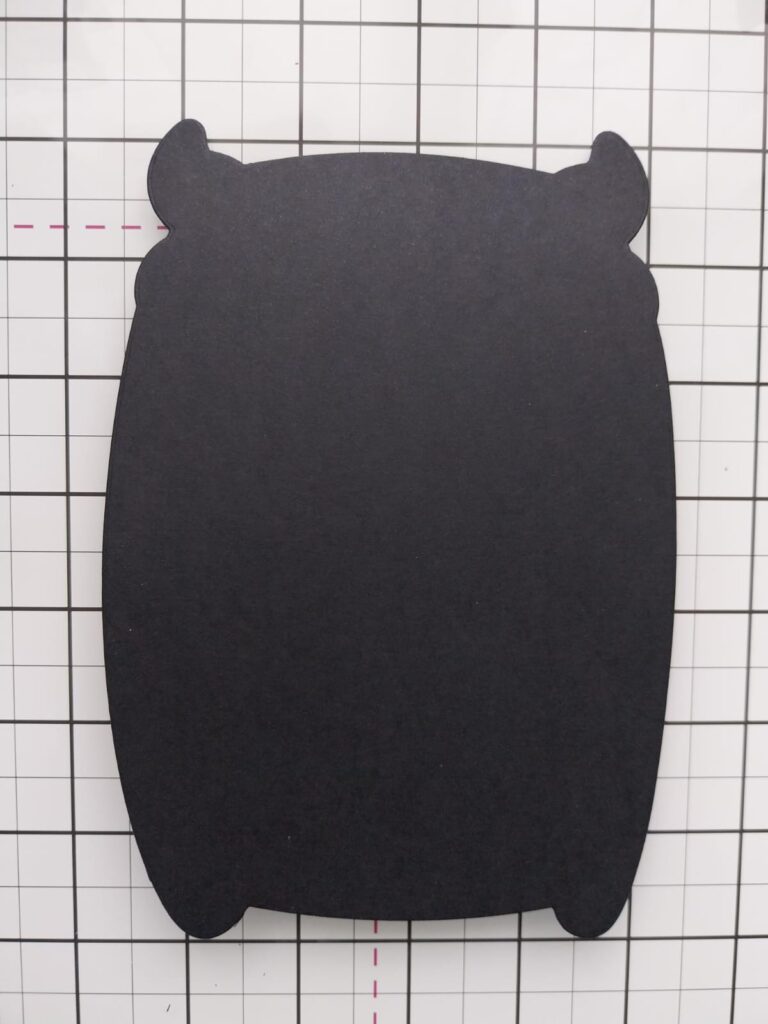
- Attach the card with another card, to create your shaped card blank and set it to one side.
- Once you’re satisfied with your sketch, refine it by adding more details and cleaning up any rough edges.
Cut the glitter card of the monster funny card:
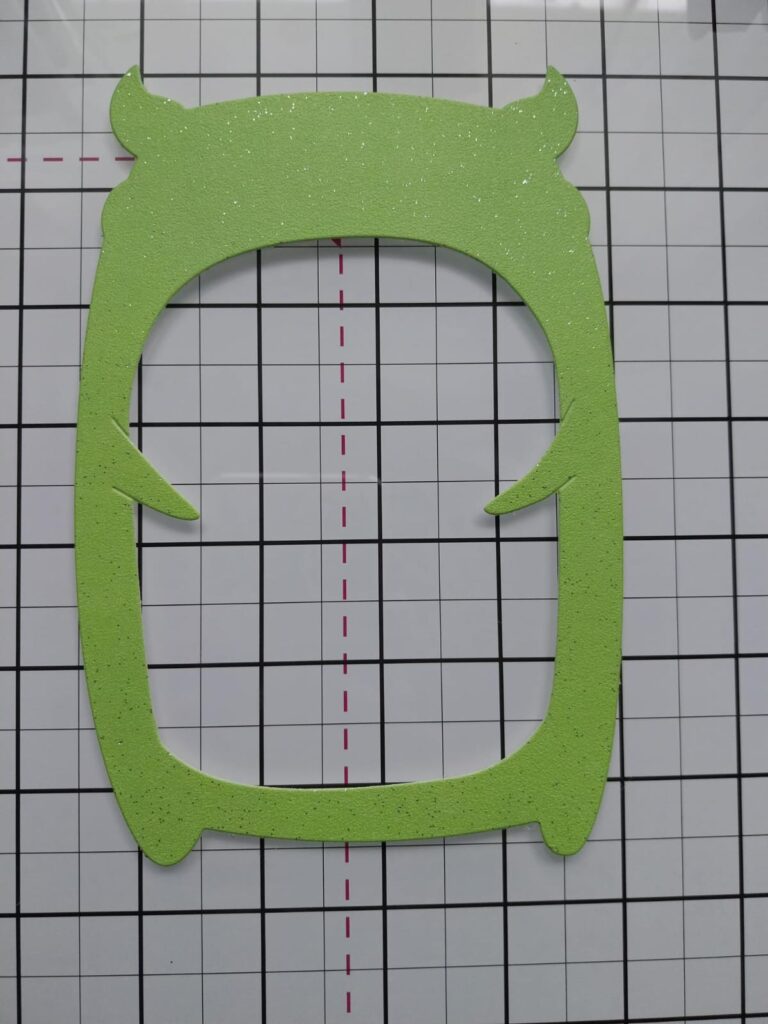
- Place your sketch of the graffiti monster onto the glitter cardstock.
- Trace the outline of the monster onto the glitter cardstock using a pencil.
- Be sure to include all the details and features of your monster.
- Use the detailed die to cut your monster from your chosen glitter card.
- Carefully cut out the outline of your monster from the glitter cardstock using scissors or a craft knife. Take your time to ensure clean and precise cuts.
- If your monster has intricate details, you may need to use a craft knife for more precision.
Cut the teeth of the monster funny card:
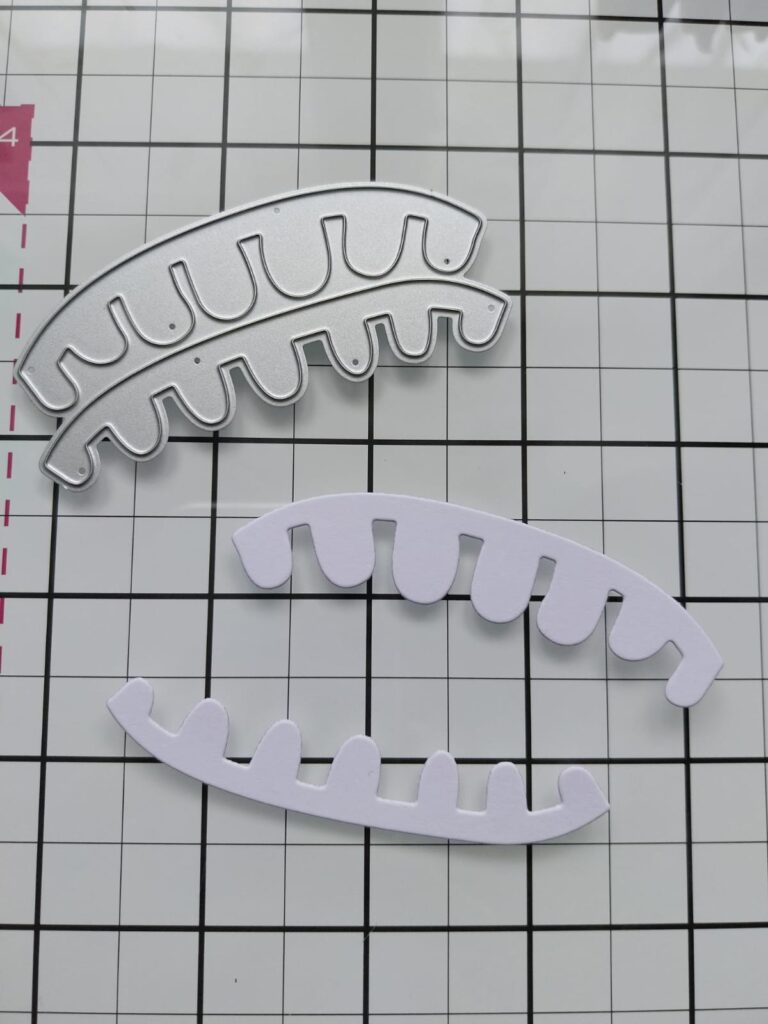
- Sketch the teeth of your monster on a separate piece of white paper.
- You can make them sharp, pointy, or any shape that fits the aesthetic of your monster.
- Ensure the size of the teeth matches the size of your monster’s mouth.
- Carefully cut out the teeth from the glitter cardstock using scissors or a craft knife. Take your time to ensure clean and precise cuts.
- If the teeth have intricate details, you may need to use a craft knife for more precision.
Cut the eyes and horns of the monster funny card:
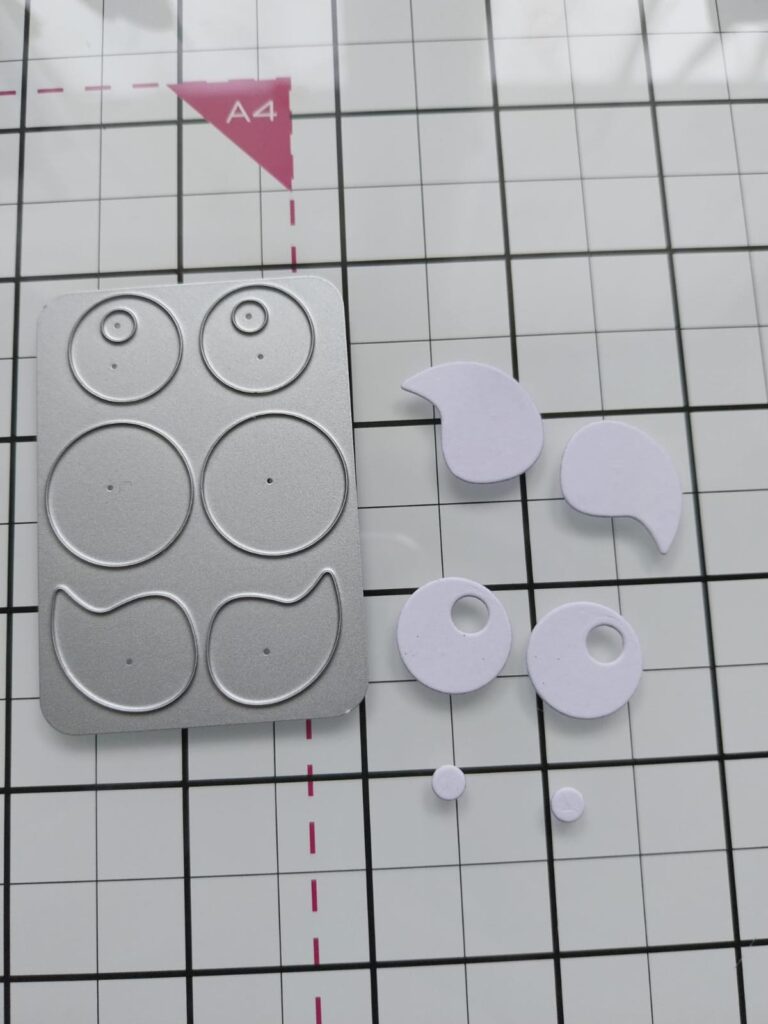
- Sketch the eyes and horns of your monster on a separate piece of white paper.
- You can make the eyes big, small, round, or any shape that fits the character of your monster.
- Similarly, design the horns in a style that complements your monster’s design.
- Consider the placement of the eyes and horns on your monster’s head.
- Trace the outlines of the eyes and horns onto the glitter cardstock using a pencil. Ensure that you capture all the details and shapes accurately.
- Carefully cut out the eyes and horns from the glitter cardstock using scissors or a craft knife. Take your time to ensure clean and precise cuts, especially for any intricate details.
- If the horns have complex shapes or curves, consider using a craft knife for more precise cutting.
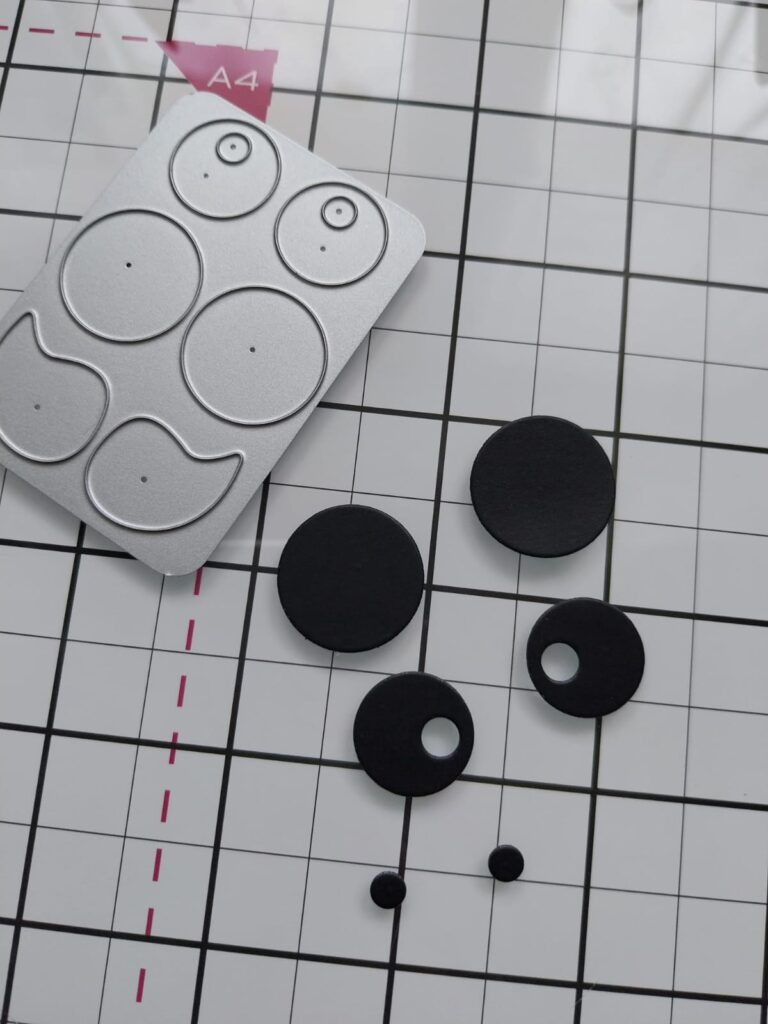
Cut another set from the leftover black card that you set aside earlier.
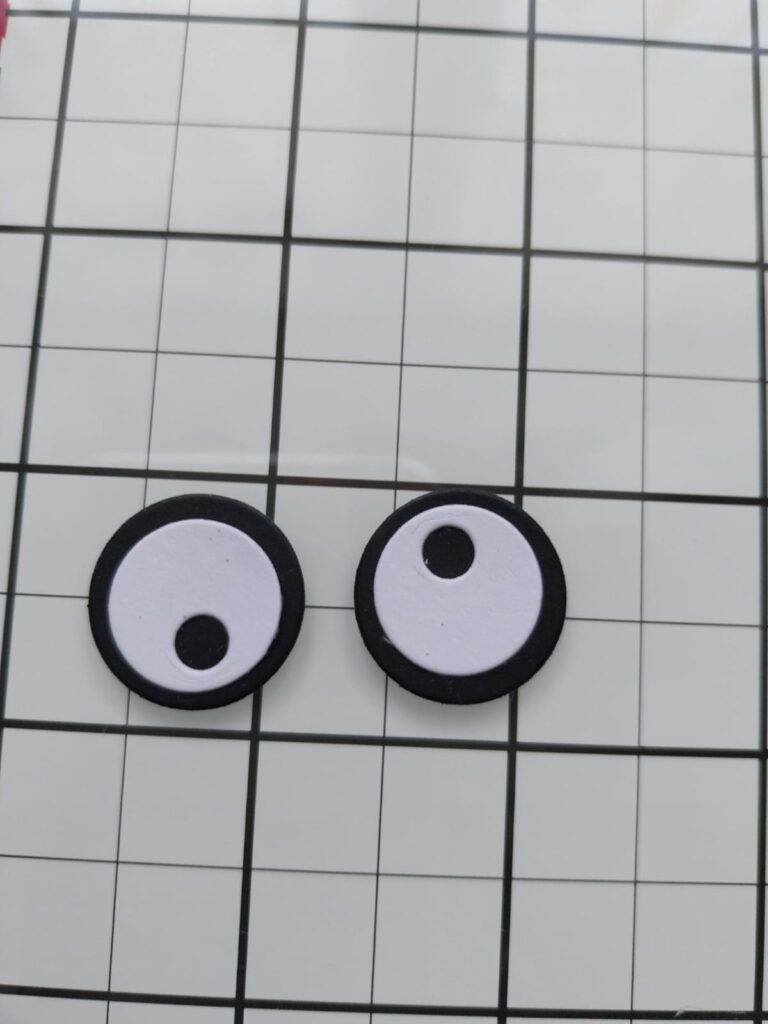
- Adhere a combination of the cut elements together, to create your monster’s eyes.
- Apply glue to the back of the eye and paste the upper side of the eye.
Apply teeth on monster funny card:
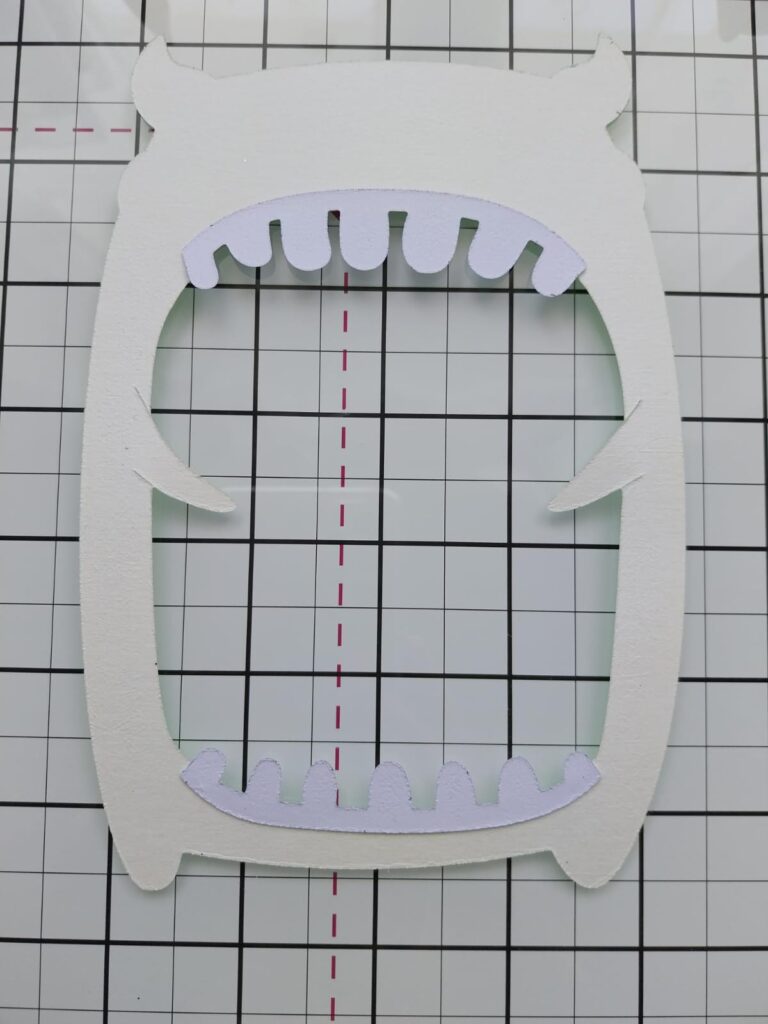
- Apply glue to the back of the teeth cutouts.
- Carefully position the teeth onto your monster, aligning them with the mouth area.
- Press down gently to secure the teeth in place.
- Allow the glue to dry completely before handling your monster funny card.
- Be mindful of the size and placement of the teeth to ensure they fit proportionally with your monster’s mouth.
Apply eyes and horn of the monster funny card:

- Adhere the eyes and horns in place, as desired. You can add eyes if you so wish.
- Apply glue to the back of the eye and horn cutouts.
- Carefully position the eyes and horns onto your monster, following your original design and sketch.
- Ensure they are placed symmetrically and align well with the overall composition. Press down gently to secure the eyes and horns in place.
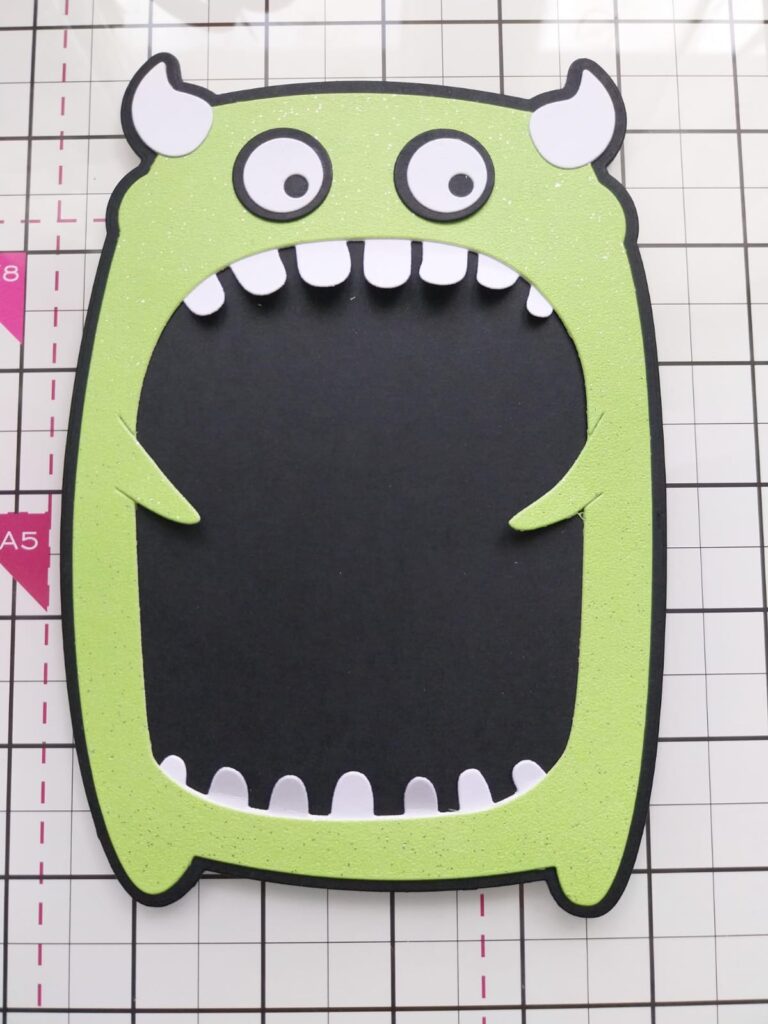
Adhere your glitter monster onto your black, shaped card blank and pop it to one side.
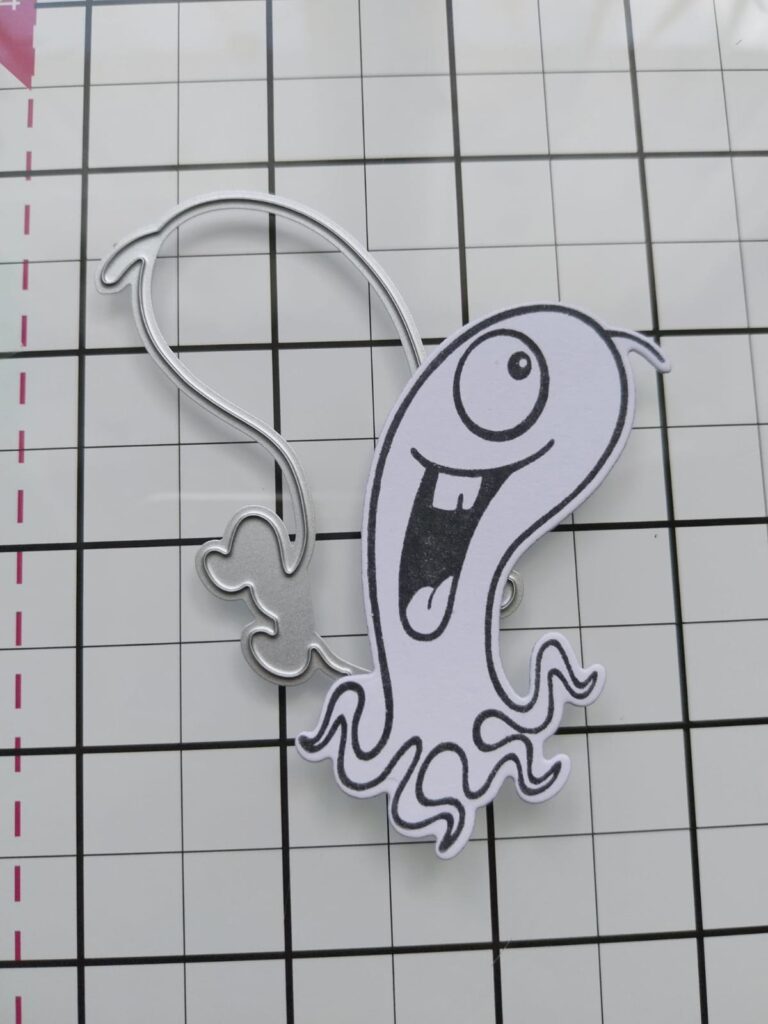
Stamp this cheeky Monster in the Midnight ink, onto a piece of white card and use the coordinating die to cut it out.
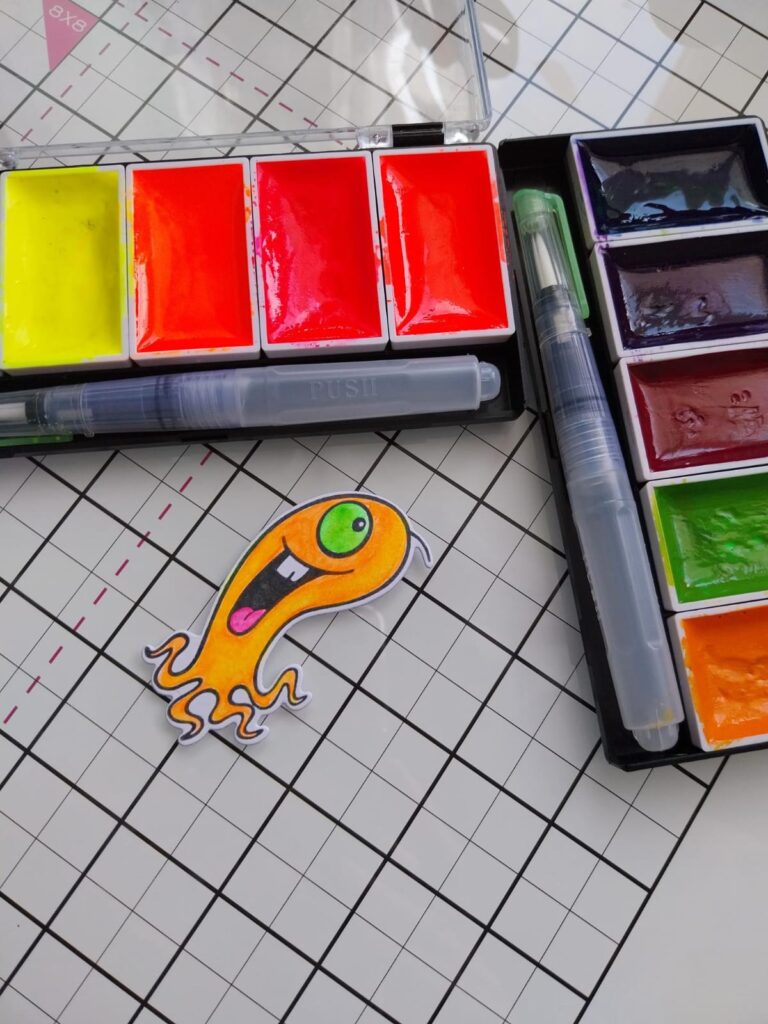
Use your neon watercolor paints to color it in.
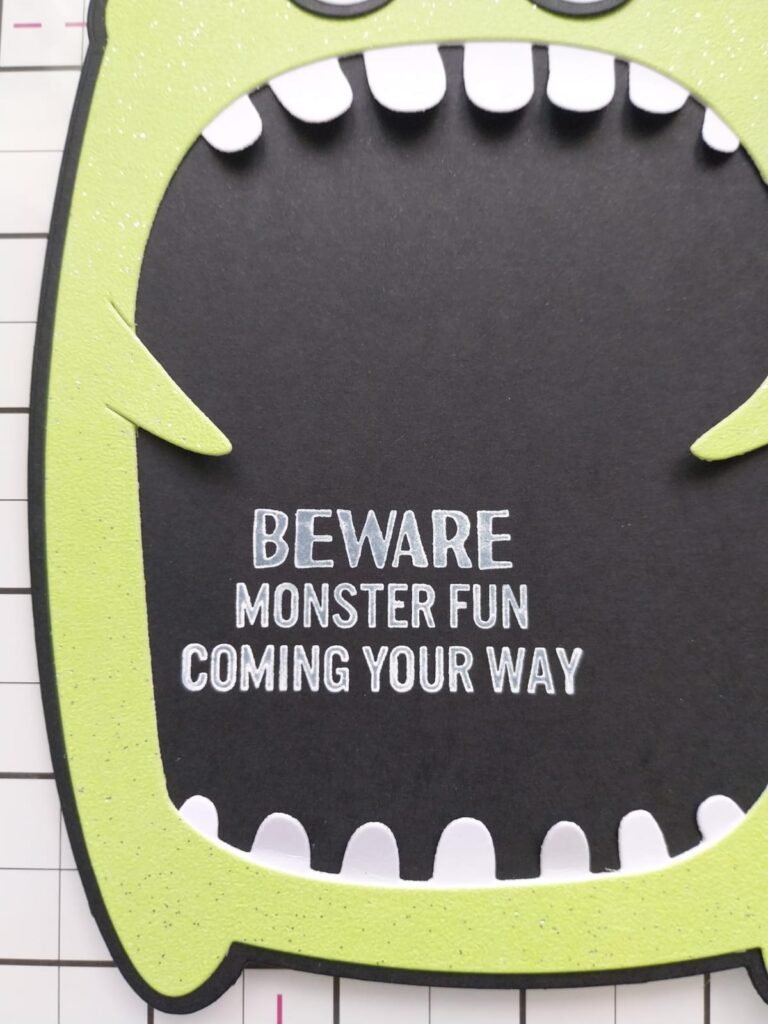
- Using your cut monster as a guide, stamp the sentiment from the stencil and stamp set, with the Cotton pigment ink, so it sits to the left of where your monster card will be.
- Pigment ink is slow drying and will smudge, so make sure it’s completely dry.