How to draw wonderful heart and flower geometric drawing for beginners guide step by step:

Creating a flower and heart geometric drawing step by step can be a fun and creative process. Here’s a detailed guide to help you create one
Step 1: Gather Your Materials
- Sketch book
- Pencil
- Ruler
- Compass (optional, for drawing precise circles)
- Eraser
Step 2: Draw the Centre Square
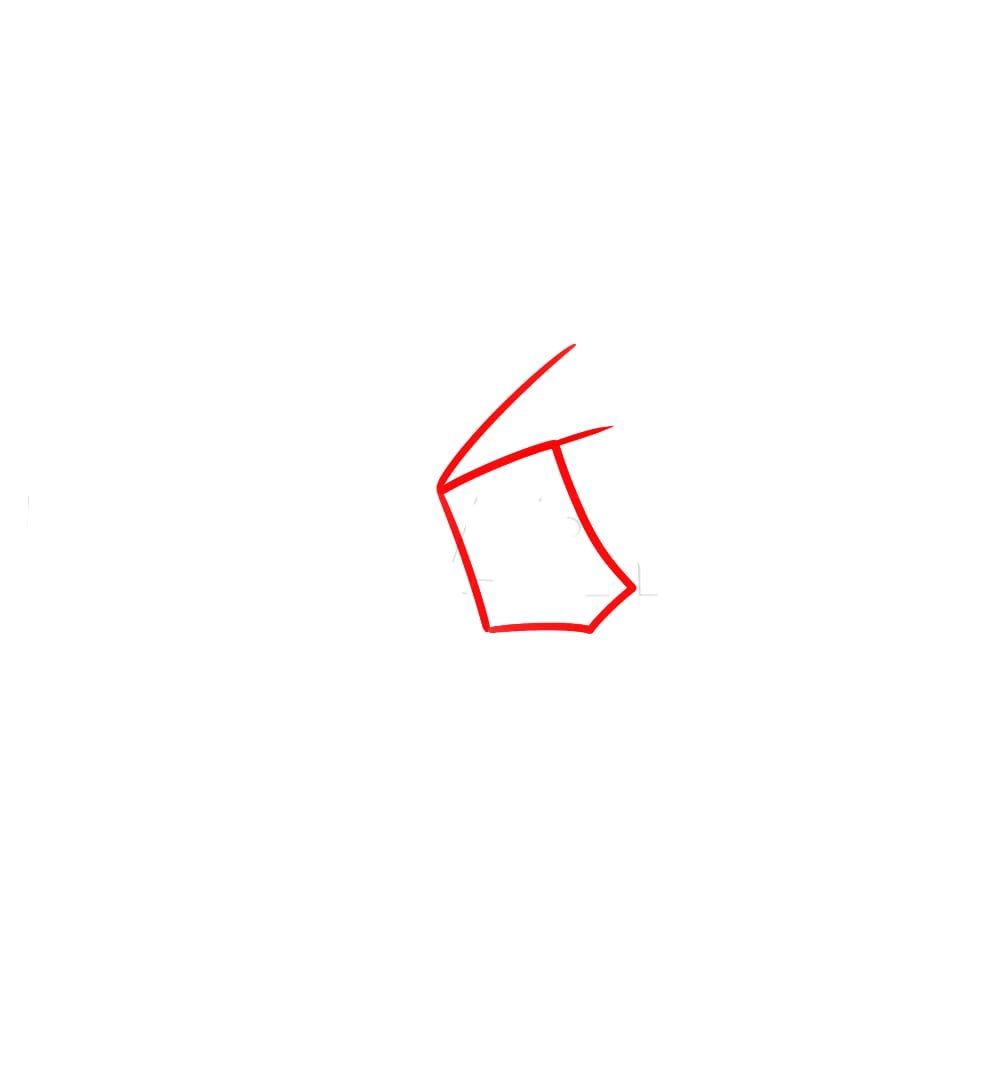
- Start by drawing a small square in the centre of your paper. This will serve as the centre of your flower.
- Use a ruler to ensure straight lines and equal sides.
Step 3: Draw the Petals
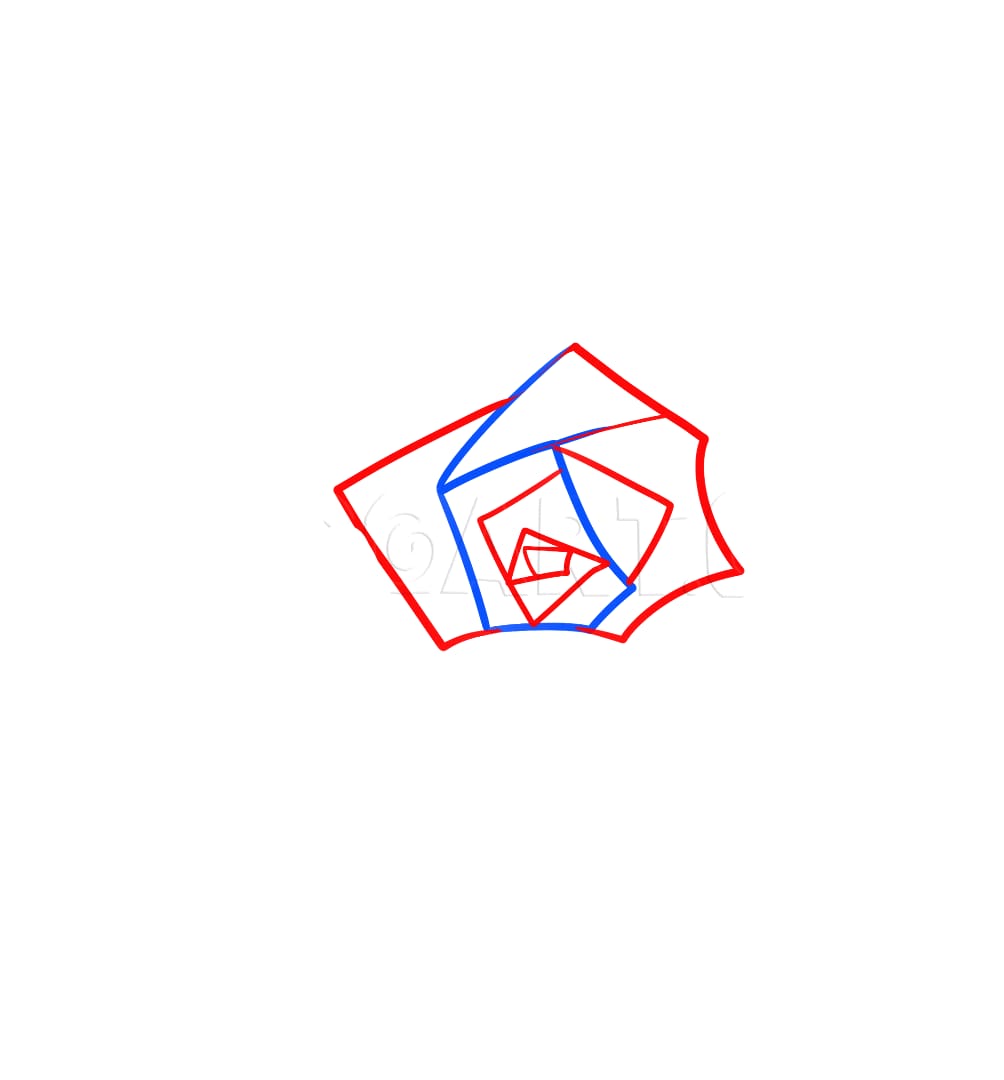
- Decide how many petals you want your geometric flower to have. Let’s start with eight petals for this example.
- Using your ruler, draw eight straight lines radiating out from the corners of the centre square. These lines will serve as guidelines for your petals
Step 4: Shape the Petals

- At the end of each line, draw a smaller square or rectangle to form the shape of a petal.
- Ensure that all the petals are of equal size and shape for symmetry.
- The outer edges of the petals should align with the corners of the centre square.
Step 5: Refine the Petals
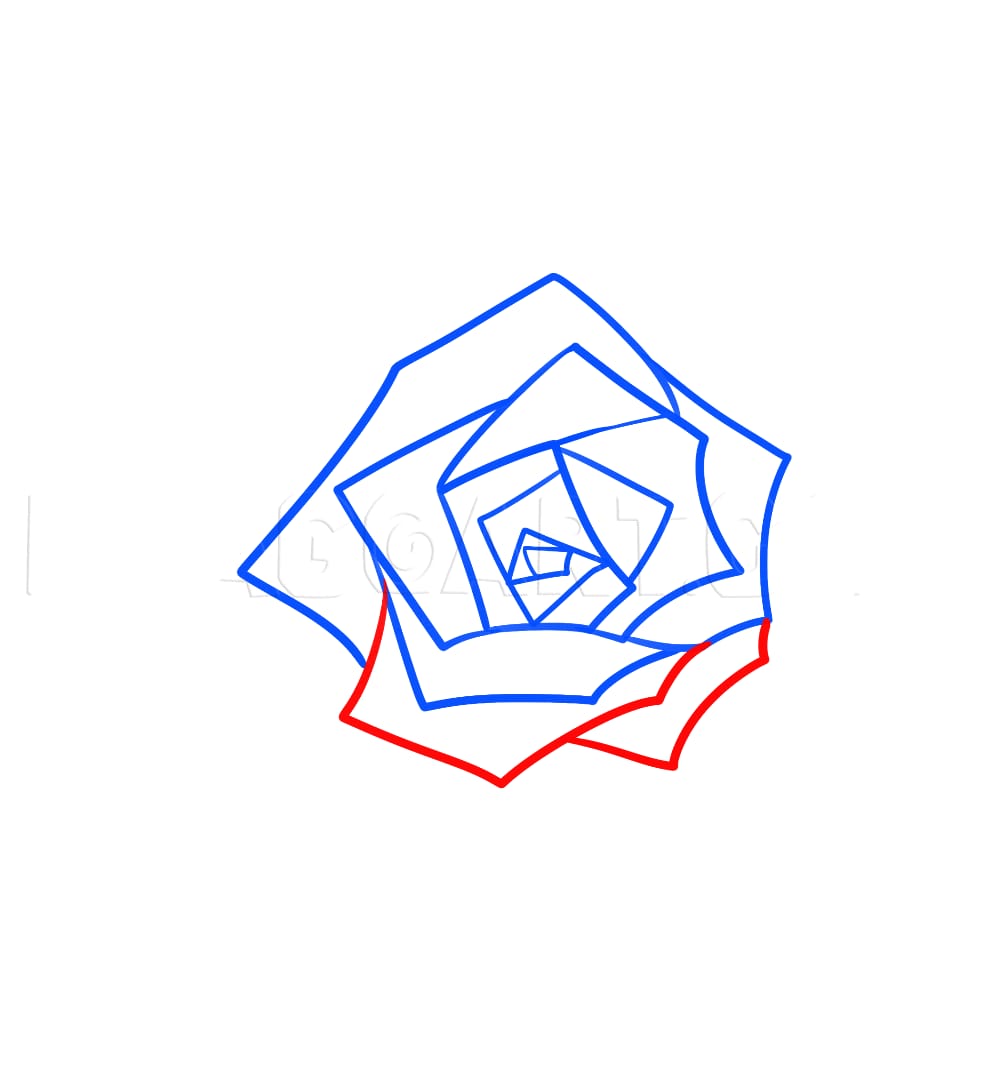
- Erase any unnecessary lines and refine the shape of the petals to make them smoother and more uniform.
- Pay attention to the spacing between each petal to maintain symmetry.
- Step 6: Add Details of flower geometric drawing:
- You can add smaller squares or rectangles inside the centre square to represent the stamen and pistil of the flower.
- Consider adding some small lines or dots to the petals for texture and detail.
Step 7: Outline Your flower geometric Drawing
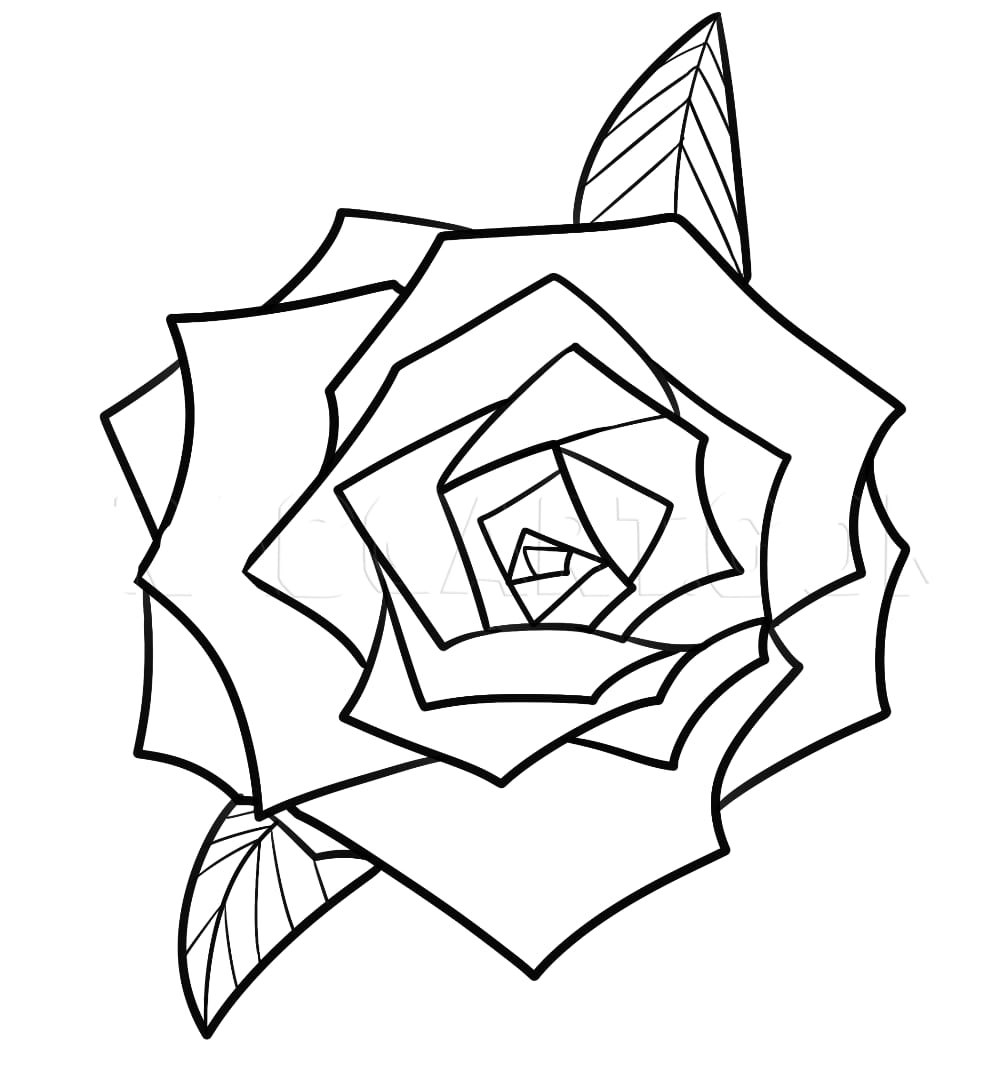
- Once you’re satisfied with the overall shape and details, go over your drawing with a darker pencil or pen to outline the petals and centre square.
- This will help define the edges and make your geometric drawing stand out.
Step 8: Add Colour (Optional)
- If you want to add colour to your drawing, you can use coloured pencils, markers, or paints to bring your geometric flower to life.
- Experiment with different colour combinations to create a vibrant and eye-catching design.
Step 9: Final Touches
- Review your flower geometric drawing and make any final adjustments or additions as needed.
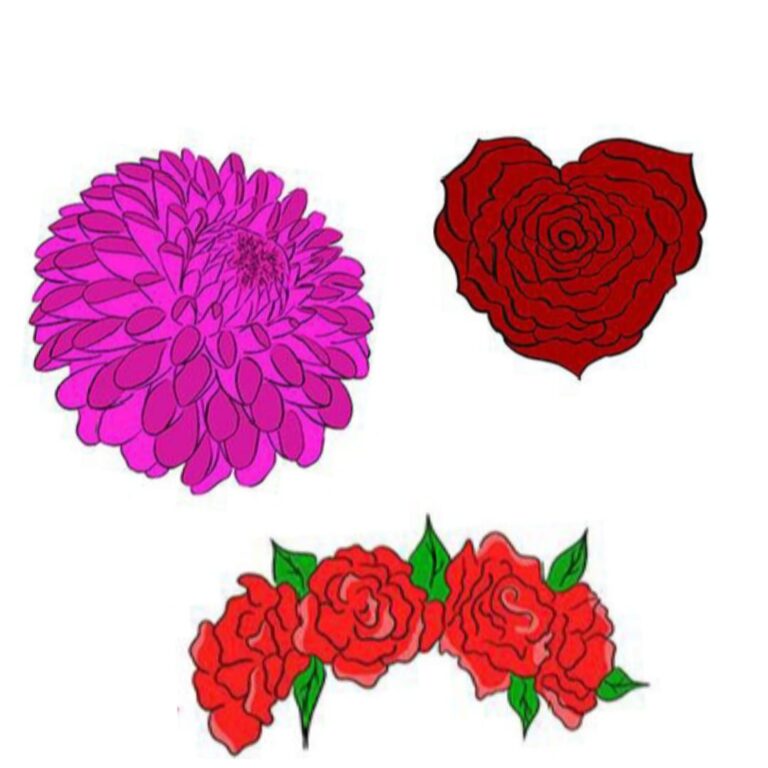
heart geometric drawing:
Creating a heart geometric drawing with detail involves several steps. Here’s a step-by-step guide to help you:
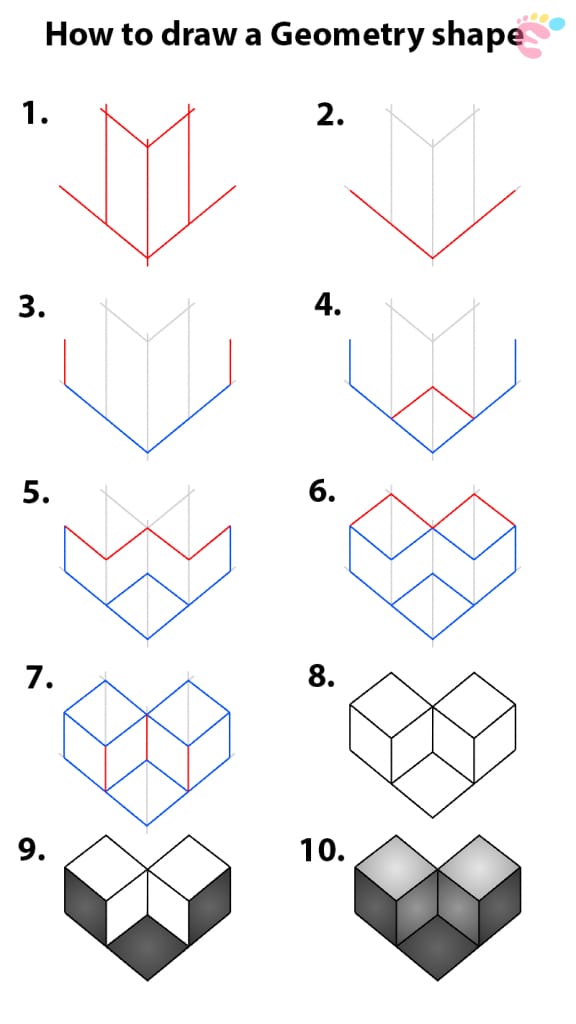
Step 1: Draw the Square
Start by drawing a square shape. You can use a ruler if you want precise edges or freehand it for a more organic look. Make sure the square is proportionate and symmetrical.
Step 2: Draw the Heart Outline
Inside the square, draw a geometric heart shape. This will be the central focus of your heart drawing. Start with the top of the heart, then draw the two curves that come down and meet at a point at the bottom.
Step 3: Add Detail to the geometric Heart drawing
To make the heart drawing look more detailed, you can add smaller curves along the edges to copy the look of veins or texture. These can be subtle lines that follow the contours of the heart shape.
Step 3: Add Detail to the Heart drawing
To make the heart look more detailed, you can add smaller curves along the edges to copy the look of the layer or texture. These can be fine lines that follow the heart shape.
Step 5: Shade and Add Depth
To give your heart geometric drawing more dimension, add shading to certain areas. You can use cross-hatching, stippling, or blending techniques to create shadows and highlights. Pay attention to where the light source is coming from to make the shading look more realistic.
Step 6: Add Final Touches in geometric heart drawing:
Once you’re happy with the overall look of your heart drawing, add any final touches or details. This could include highlights to make certain areas pop, additional texture to enhance the overall look, or any other elements you feel will increase the drawing.
Step 7: Erase any Unnecessary Lines
Carefully go over your drawing and erase any unnecessary lines or spots. This will help clean up the geometric heart drawing and make it look more polished.
Step 8: Finalise Your geometric heart Drawing
Once you’re satisfied with your geometric heart drawing, you can finalise it by signing your name or adding any additional elements you feel are necessary. Congratulations, you’ve completed your square heart drawing with detail!