How to Draw attractive Hearts of Queen Drawing:
Since it’s the Queen of Hearts, so; i draw the attractive hearts of queen drawing. follow these steps and make a beautiful drawing.take your pencil let’s do it.

Draw body outline of the attractive hearts of queen drawing:
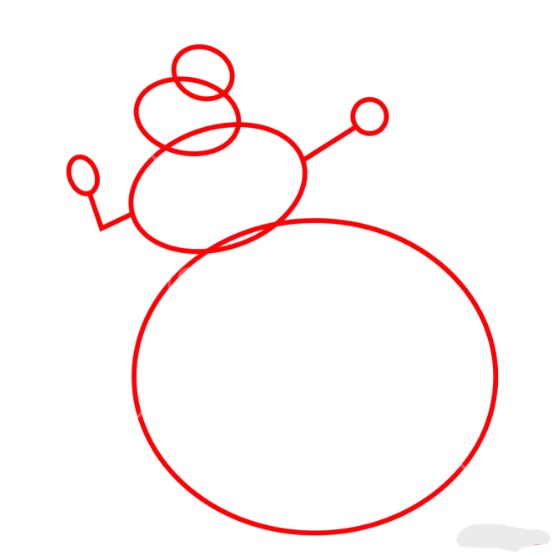
Head Circle:
Start by drawing a circle at the top of your paper. This will represent the head of the Queen of Hearts. Keep in mind that the size of this circle will determine the overall size of the character.
Torso Circle:
Below the head, draw a larger circle to represent the torso. This circle should be slightly elongated vertically to create the upper body. Position it so that it slightly overlaps with the bottom of the head circle.
Extend the Bottom Circle for Hips:
Draw a third circle at the bottom to represent the hips. Connect this circle to the lower part of the torso circle. This will serve as the foundation for the lower body.
Connect Circles for the Body Shape:
Use curved lines to connect the circles, forming the basic shape of the Queen of Hearts’ body. Ensure that the proportions look natural, and adjust the curves as needed to create a graceful silhouette.
Add arms:
Add lines for the arms, considering the pose you want for the Queen of Hearts. You can have her arms by her side, holding a sceptre, or in any other regal position. Pay attention to the length and proportions of the arms.you make two circles for the hand on the edge of the arm.
Draw the face features of the hearts of queen drawing:

Add facial features such as eyes, nose, and mouth.Experiment with different eye shapes and expressions until you find the one you like. draw the happy face expression of attractive hearts of queen.
Position the eyes along the horizontal guideline. For a jolly expression, you can draw large, round eyes with raised eyebrows. Add small pupils towards the top of the eyes to indicate happiness. draw curved lines for a face smile. draw a circle for a thick nose and set the shape for the nose on this placement. draw curved lines for a face smile. draw a circle for a thick nose and set the shape for the nose on this placement. draw curved lines for a face smile. draw a circle for a thick nose and set the shape for the nose on this placement.
draw curved lines for a face smile. draw circle for thick nose and set the shape for nose on this placement
Draw the collar of the attractive hearts queen drawing:
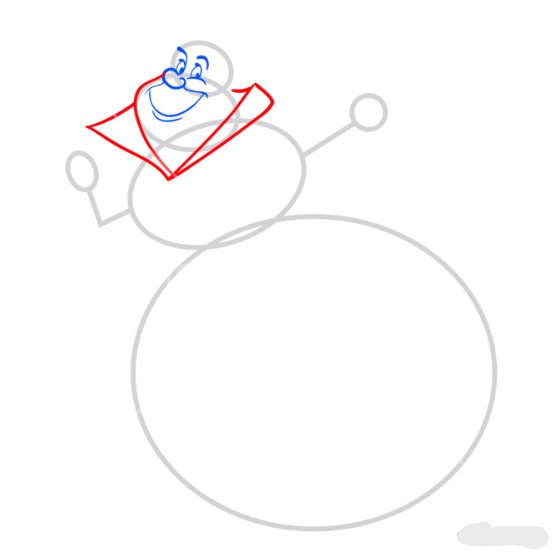
Sketch the base of the collar by drawing a horizontal line across the neckline. This line will serve as the foundation for the collar of attractive hearts of queen.
Draw the crown,ear,chin and hair of the attractive hearts of queen drawing:
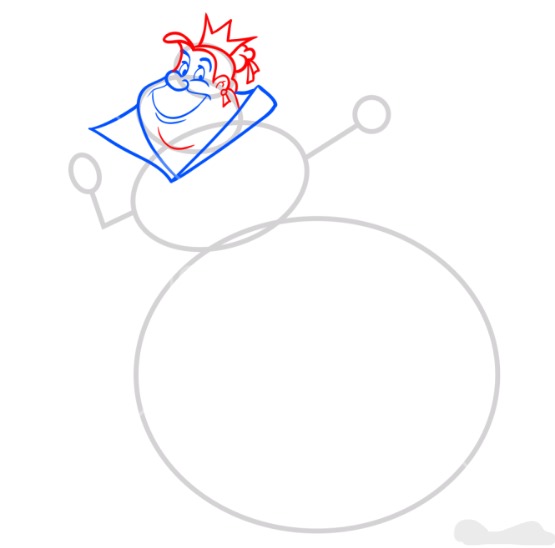
- Outline the hairstyle. Below the crown, sketch a basic shape for the hair, following the curvature of the head.
- Draw the Base of the Crown.
- Sketch a simple curved line that follows the shape of the Queen’s head.
- This will be the base of the crown.
- Draw The ear,Draw a curved shape that resembles the letter ‘C’ for the outer part of the ear.Inside the ‘C’ shape, draw a curved line that defines the inner part of the ear.
- Connect it to the lobe with another curved line for the bottom of the earlobe.
- Pay attention to the overall proportions and curves.
- draw a small curved line or hook coming down from the upper part of the ear.
- This is where the earring will be attached.
- you want the earring to be and draw a small curved line or hook coming down from the upper part of the ear.
- This is where the earring will be attached.
- Draw the chin line
Outline Of arm of the attractive hearts of queen drawing:
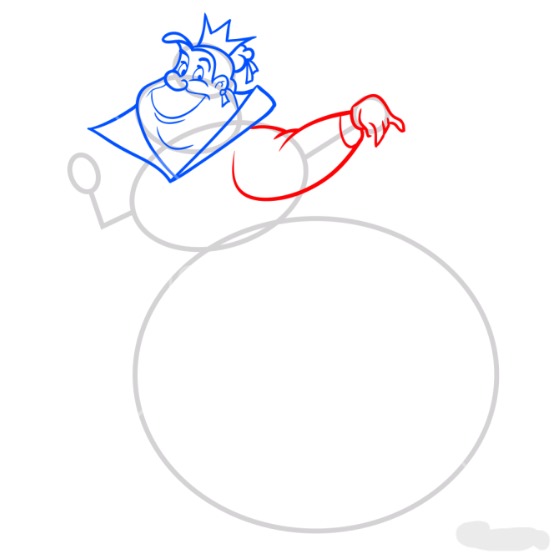
- wing a vertical line to represent the centre of the arm.
- This line will guide you as you sketch the rest of the arm.
- On top of the vertical line, sketch a cylinder shape to represent the upper arm.
- The upper arm is the part between the shoulder and elbow.
- Extend another cylinder shape from the elbow to represent the lower arm.
- The lower arm is the part between the elbow and wrist.
- Draw another slightly bent line to indicate the wrist.
- This line connects the lower arm to the hand.
Draw the chest of the hearts queen of drawing:
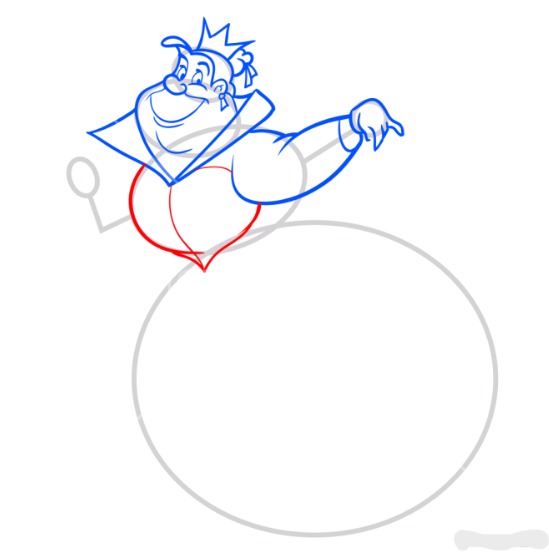
Draw the heart shape for the chest of attractive hearts of queen drawing.
Draw the other hand of the hearts queen of drawing:
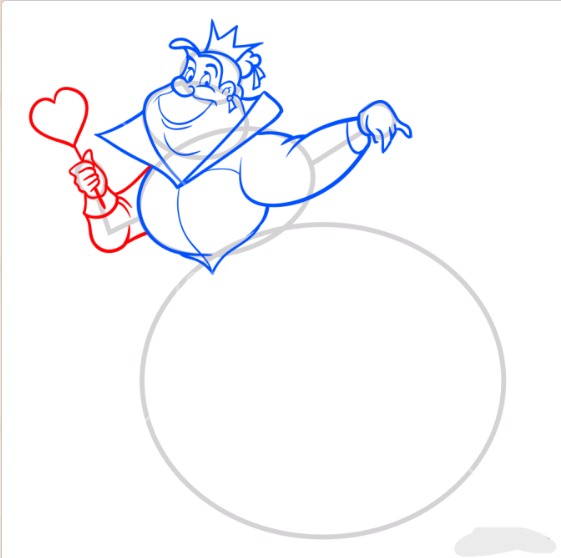
Start by drawing a vertical line to represent the centre of the arm. This line will guide you as you sketch the rest of the arm.
On top of the vertical line, sketch a cylinder shape to represent the upper arm.Draw a slightly bent line to indicate the elbow, connecting the upper arm to the lower arm.
Extend another cylinder shape from the elbow to represent the lower arm.
Draw a slightly bent line to indicate the wrist, connecting the lower arm to the hand.
Sketch the basic shape of the hand holding a stick. Draw a vertical line from the hand to represent the stick. At the top of the stick, form a heart shape by drawing two curves meeting at the bottom centre.
Draw the upper gown of the attractive hearts queen of drawing:
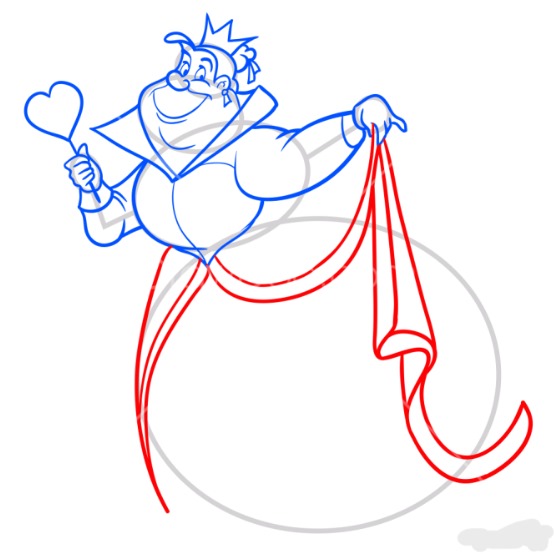
Draw a curved line to define the waistline. This will help guide the flow of the gown.
Extend the lines from the waistline to create the skirt of the gown. Determine the flare and length of the skirt based on the style you want.
Attractive hearts queen of drawing outline the gown:

Draw a curved line to represent the gown and last step you make the shoe of hearts of queen.
hearts of queen Conclusion:
The conclusion of drawing the attractive Hearts of queen character can vary depending on the context and purpose of the illustration. However, generally speaking, the conclusion of depicting the attractive hearts of Queen would likely involve emphasising her commanding presence, authoritative demeanour, and perhaps incorporating elements that highlight her obsession with order and her tendency towards irrationality or volatility. This might involve fine-tuning details such as facial expressions, posture, clothing, and surrounding imagery to effectively convey her character traits and personality to the viewer.